
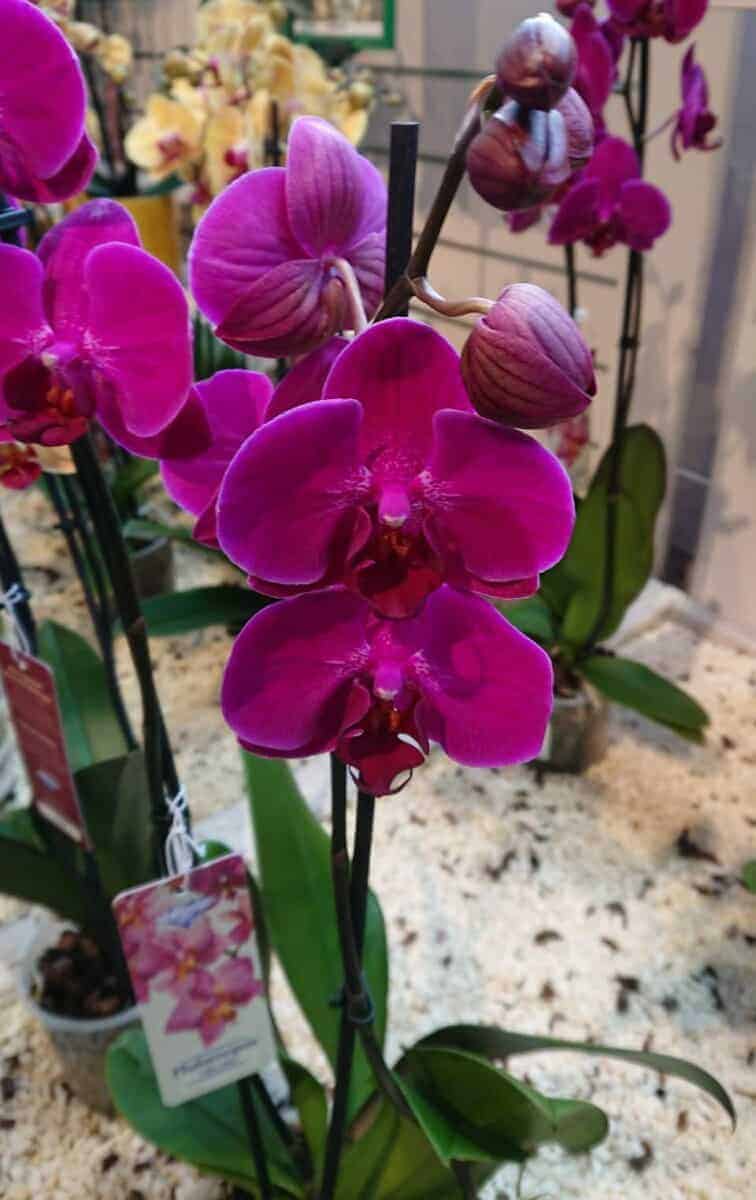
Find out what your moth orchid needs next; from healthier roots to the right place on your windowsill.
By Mark Bennett
The last flower has fallen, and your orchid is looking rather bare. You’ve kept watering it; the leaves are still there, but another flower spike never seems to appear.
A flowerless orchid can still be a healthy orchid. The useful question is what the plant needs before it can support another display.
This guide is for the common Phalaenopsis, or moth orchid, sold in supermarkets and garden centres. Other orchids can have different flowering requirements.
The short answer: Check the roots, provide enough filtered light, and give a healthy plant a gentle cooler period. Keep watering and feeding appropriate to its growth, then allow time for a new spike to develop.
First, which description fits your orchid?
| What you can see | Where to start |
|---|---|
| Firm leaves and sound roots, but no flowers | Check light and temperature. |
| Wrinkled leaves or soft, collapsing roots | Start with root health and watering. |
| A bare stem after the flowers have dropped | Use the keep-or-cut guide. |
| A small new growth between the leaves | Learn to recognize a flower spike. |
1. Check the roots before trying to encourage flowers
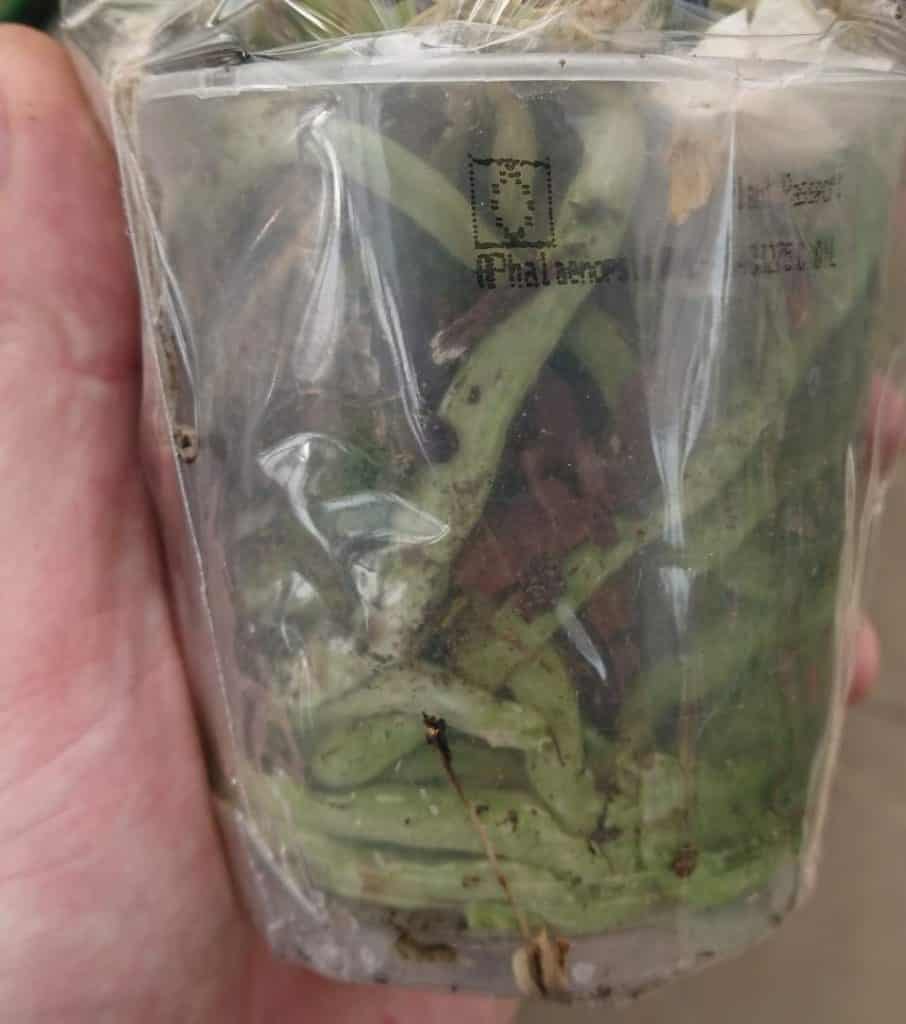
Lift the inner pot out of its decorative cover. A clear pot makes this especially easy: you can inspect many of the roots without disturbing the plant.
Look for firm, substantial roots. Exposed roots often look green when wet and silvery when dry; roots deeper in the pot can be paler. Color alone is not a reason to cut a root.
Soft, hollow or collapsing roots are more concerning. If the leaves are wrinkled while the pot stays wet, inspect the roots rather than automatically adding more water.
If you find extensive decay, prioritize recovery. Remove dead roots with a sterilized cutting tool and repot into an appropriate airy orchid mix. A plant with substantial root loss needs time to recover before you try a cooler flowering treatment.
On a healthy plant, fresh roots and a developing leaf are useful signs of growth between flowering cycles. Keep those roots, including healthy ones that extend beyond the pot.
2. Give the leaves enough light to support flowers
An orchid can look attractive on a shelf while receiving too little light to flower well. If it has spent months in a dim corner, I would check its position before changing the fertilizer.
Try a bright window with protection from strong, hot sun. An east-facing window is often a useful starting point. A brighter south- or west-facing position may need a sheer curtain, depending on the season and what is outside the window.
Check the spot in the morning and again later in the day; Ideally a place that seems gently lit at breakfast can receive a strong beam of afternoon sun.
Move a shade-grown plant into brighter conditions gradually. Bleached or scorched patches are a reason to provide more protection; they are not a sign that the plant is preparing to flower.
One useful check: look at the light where the leaves actually sit. A bright-looking room does not necessarily mean a plant several feet from its window has enough light.
3. Give a healthy plant a gentle cooler period
When I spoke to orchid growers for my original guide, temperature came up repeatedly. Commercial growers manage it carefully to influence when their plants flower.
At home, a moth orchid kept continuously warm may benefit from a cooler location for around a month. Keep that location bright.
A cautious starting range for common moth orchids is roughly 61–66°F (16–19°C) at night, with moderate days around 68–77°F (20–25°C). These are practical guide ranges, not a promise that every hybrid will flower on schedule.
Daytime conditions matter too. Research on Phalaenopsis found that high daytime temperatures could prevent flower initiation even when nights were cooler. A brief cold spell each night may not compensate for a very warm day.
Use a room thermometer close to the plant. Check the windowsill itself rather than relying only on the thermostat elsewhere in the house.
Keep leaves away from cold glass, avoid cold drafts, and do not put the plant outside into unsuitable temperatures. A cool-mist humidifier should not be relied on to deliver a controlled flowering temperature.
Once a spike is developing, continue with suitable light, watering and moderate temperatures. Repeatedly moving the orchid between hot and cold spots adds an unnecessary complication.

4. Water according to the pot, not just the calendar
A weekly reminder can help you remember to check your orchid. It should not mean watering a pot that is still wet.
Check the growing medium below the surface. If it is still damp and the pot feels heavy, wait and check again. When the medium is nearly dry, water thoroughly and let the excess drain away.
Silvery roots provide a useful clue, but one dry aerial root does not tell you how wet the center of the pot is.
- Remove the inner pot from its decorative cover before watering.
- Use tepid water and wet the growing medium evenly.
- Let it drain fully before putting it back.
- Avoid leaving water pooled in the crown, where the leaves meet.
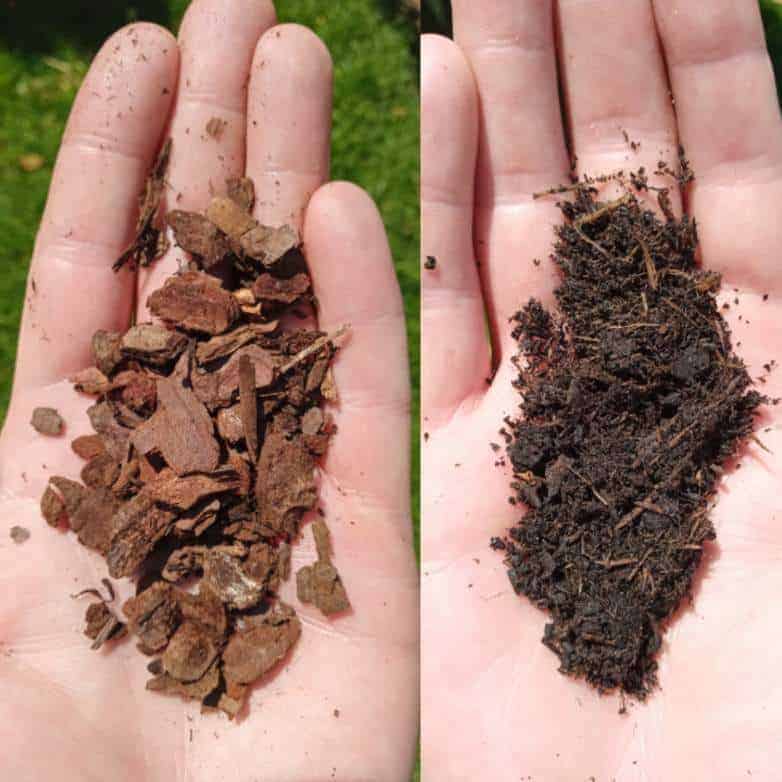
The growing medium matters. Bark and tightly packed moss can dry at different speeds. If old bark has crumbled into a dense, persistently wet mass, refreshing it may be more useful than changing your watering day.
Choose a suitable orchid mix rather than ordinary potting soil. Check the condition of the medium before repotting; a healthy plant does not need a new pot simply because it has finished flowering.
5. Decide whether to keep or cut the old flower spike
The bare flower stem is often the part that causes the most uncertainty. For common large-flowered moth orchids, the decision depends on the stem and the health of the plant.
If the whole spike is brown and dry: remove it near its base with a sterilized blade, leaving a small stub and keeping clear of the leaves. That dead spike will not flower again.
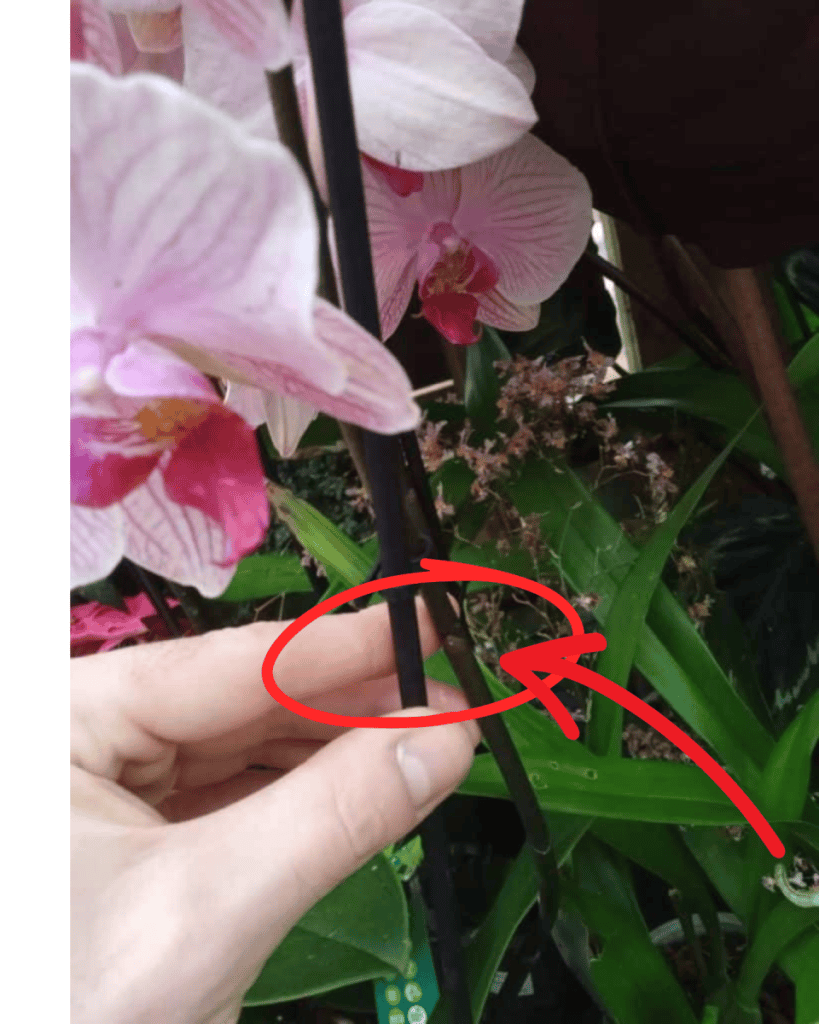
If the spike is still green and the plant is strong: you can leave it, or trim just above an unused node to encourage a side branch. A healthy unused node around the second joint from the base is a common choice. A node is a small joint covered by a little scale on the stem.
A side branch is possible, not guaranteed. It may produce a smaller display than a fresh spike.
If the plant is weak or has lost roots: removing the old spike can allow it to concentrate on recovery.
Some “novelty” Phalaenopsis repeatedly flower from the tips of their existing spikes. If yours is a named specialist type, check its requirements before cutting a healthy green spike.
6. Feed lightly while the plant is growing
Fertilizer supports growth, but an orchid without flowers does not automatically need a stronger dose.
Use a suitable fertilizer at the label’s recommended orchid concentration and interval. Feed lightly during active growth; reduce or pause feeding when growth slows in cool, low-light conditions.
Use plain water between feeds to help limit salt buildup. Extra fertilizer can damage roots, especially if you keep adding it to an already stressed plant.
A specialist spray is not essential. The useful questions are whether the product suits the plant, whether it is diluted correctly, and whether the orchid is actively growing.
If the roots are in poor condition, address that problem first. Increasing the feed does not fix a soggy pot or a dark position.
7. Learn to spot progress before the first flower opens
New growth at the base of an orchid can be surprisingly difficult to identify at first.
A young flower spike often has a flattened, mitten-like tip and develops between the leaves. A new root usually has a smooth growing tip, followed by the familiar silvery covering as it lengthens.
Direction alone is unreliable: a root can grow upward, and a spike can take an unexpected route. If the growth is too small to identify, leave it undisturbed and check again as it develops.
Photograph the plant from the same angle once a week. Include the base of the leaves so you can compare any new growth. It is easier to notice a developing spike in two photographs than by examining the plant several times a day.
Expect weeks before a flowering response becomes visible, followed by further time for the spike and buds to develop. Reaching open flowers can take several months, and a recovering plant may need longer.
Once buds appear, protect the orchid from sudden temperature changes and keep care consistent. Avoid making several new changes simply because the flowers have not opened yet.
Three questions that often come up
Does my orchid need extra darkness?
I would not make darkness treatments the first step. Responses to day length vary among orchids and hybrids. For this guide, concentrate on adequate daytime light, a normal night, root health and suitable temperatures.
Can it flower if I have already cut the old spike off?
Yes. A healthy moth orchid can grow another flower spike from the main plant. Keeping an old green spike is an option for a possible side branch, not a requirement for all future flowers.
What if nothing happens after a month?
Review the actual growing conditions. Has the plant had enough light? Has its new position really been cooler? Are the roots sound? Use those observations to choose the next adjustment rather than adding more fertilizer or cutting another part of the plant.
Your next five checks
- Roots: firm and sound, with no extensive soft decay.
- Light: bright at leaf level, with protection from harsh sun.
- Temperature: a suitable cooler period for a healthy plant.
- Water: medium allowed to approach dryness, then watered and drained.
- Progress: a weekly photograph to track new leaves, roots or a spike.
Start by lifting the inner pot and looking at the roots. That first check will help you decide whether your orchid needs recovery time or is ready for the next step toward flowers.
Do you have any questions? Please comment below, and I’ll respond!
Recent Posts
Indoor palm trees are some of the most elegant houseplants you can grow, and they are exceptionally easy to care for once you know their preferred conditions. The key is to mimic some of the...
Monstera deliciosa (Swiss cheese plant) is remarkably easy to propagate in water, and propagation can be a good way to reduce the size of any large and out-of-control monsteras that have outgrown...